I'm not sure if I mentioned it before but I was commissioned to make a pair of dog coats for a lady in the US. It was the same lady who ordered the crocheted project bag at the end of last year (although it had some modifications so she could use it as a handbag/purse.)
She has 2 pugs and asked for coats to keep them warm in the winter when they go out. I had a quick look on Ravelry for a pattern I could adapt, as I wanted to make them to my own design really but had no idea about sizing and shaping. I found the Well Dressed Dog Coat by Tamara of Moogly Blog and whilst it was made in aran yarn and quite plain, it had all the measurements I'd need.
I requested some measurements of the intended recipients and got cracking.
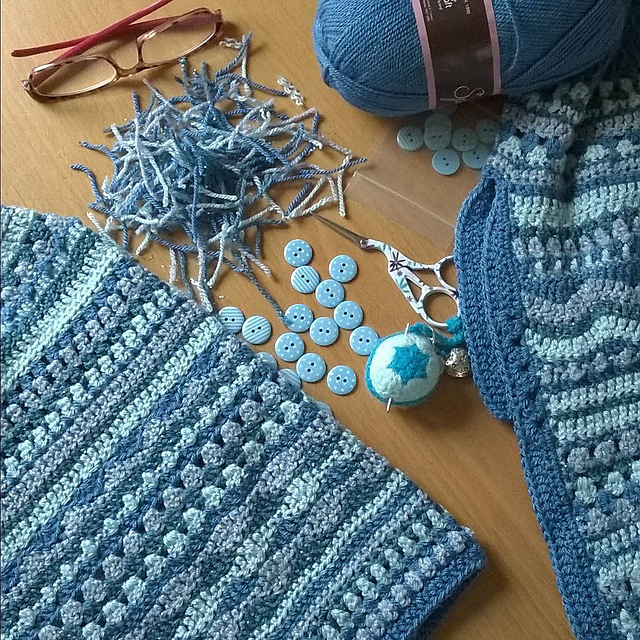
When she first mentioned dog coats, I knew I wanted to do something along the lines of my Tooty Stripey Blanket, with lots of different stitches and some texture but a limited colour palette. She asked for air-force blue, and I chose a duck-egg green and two glittery yarns in silver grey and teal to compliment them - the overall effect is very pleasing I think and actually looks frosty and wintry with the glitter.
It really was a "make it up as you go along" project with not a single note written down! Luckily, I made the 2 neckbands with their attached yokes first or I might not have remembered the stitch count etc. but after that, I stitched away merrily and completed the first one before I tackled the second. The original plan was to do a few rows of each and keep switching back and forth but I got a bit carried away with the whole design process!! I do so love to make it up as I go along!!
The original pattern has "armholes" for the front legs but I wasn't sure how easy that would be to put on, so redesigned them a little to have button-up flap across the belly. I also wanted them to be completely reversible so she won't have to stop and think about which way out they need to be before putting them on - although this meant I needed to add buttons on both sides. I stitched on a lot of buttons!!
Here are some quick pics of them, although I have taken plenty of others but not downloaded them yet.
They're on their way to the USA now and I can hardly wait to find out if they fit ok.... watch this space on that one!!
I've set up a project page on Ravelry too.
Talk again soon, T xXx


No comments:
Post a Comment